Connecting 3CX to Grafana

✅Step One – Setting up your Grafana Instance
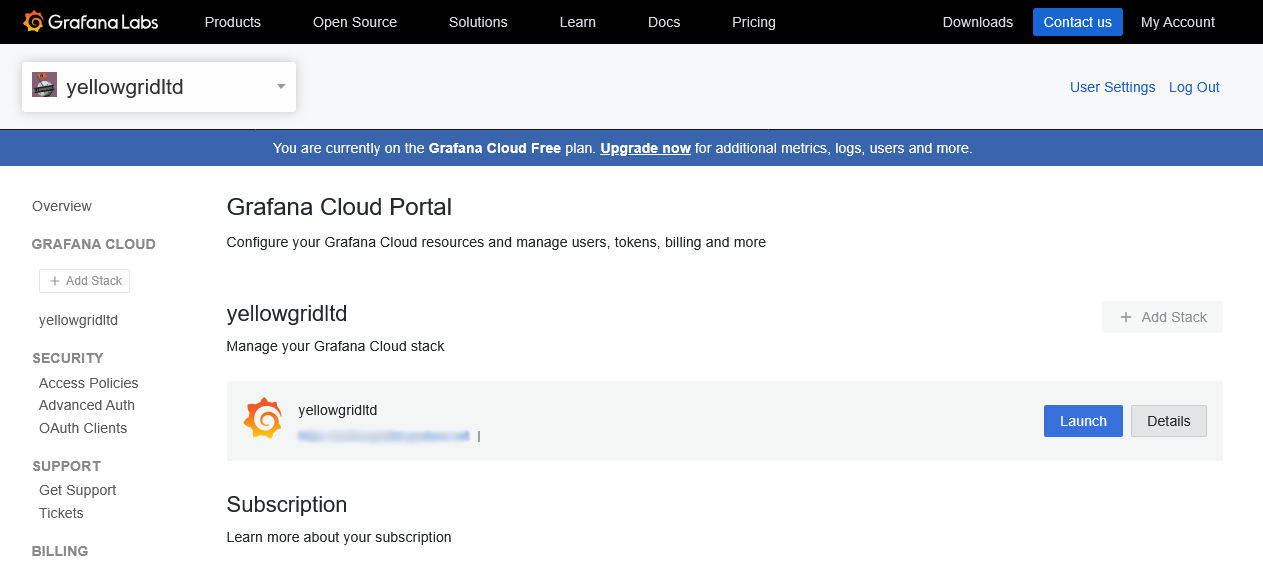
To get started, go to Grafana, create a Grafana Cloud Account (Free Tier), and click launch on your free Grafana cloud stack.
✅Step Two – Creating a database and connecting 3CX to Grafana
You can then follow 3CX’s guide on setting up a PostgreSQL database in the format 3CX needs and connecting the database to 3CX as a Data Connector so 3CX can write data to it.
Standalone PostgreSQL & Grafana Configuration Guide | 3CX
If you want to use AWS, you can set up an AWS RDS PostgreSQL database using this guide:
AWS RDS PostgreSQL Configuration Guide | 3CX
If you want to use Google, you can set up a Google BigQuery database using this guide:
Google BigQuery Configuration Guide | 3CX
✅ Step Three – Creating a Grafana Dashboard
Once you have set up 3CX with Grafana you can import 3CX’s dashboards to use their pre-made templates. You can download the PostgreSQL templates from here:
You can download the Google BigQuery templates from here:
Once you have your packages, you can unzip them, and drag and drop them into the Dashboard creation screen, which is found in Grafana by going to the Dashboards page and clicking New > New Dashboard in the top right, then select Import Dashboard
Once.
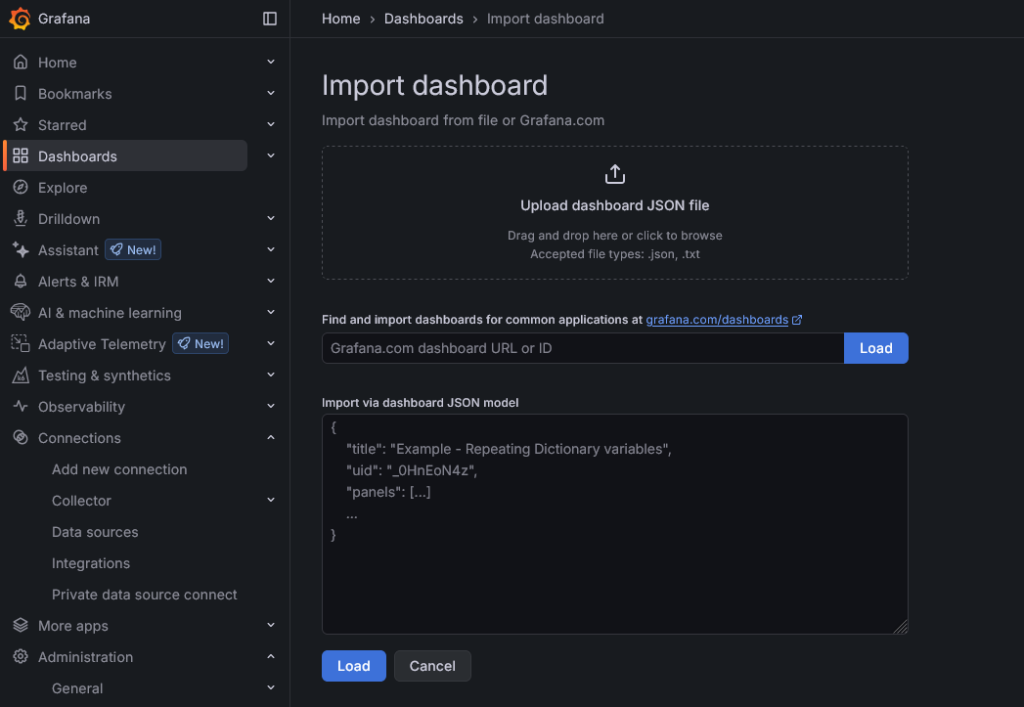
Once imported, you should be able to select a data source from the Grafana data source dropdown.
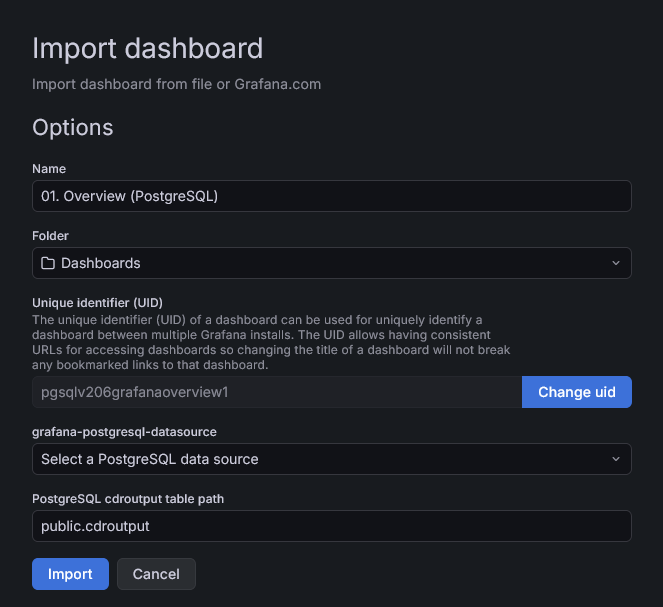
Click import, and you’re done! There should be 10 templates to choose from.
Reseller application – Click HERE to apply
Looking for more information? No problem, contact us on 03330144340 or sales@yellowgrid.co.uk.