EdtechPro MIS/CRM Integration Setup Guide

Integrating your MIS/CRM system with 3CX ensures seamless communication and efficient data handling across your educational or business environment. This guide walks you through the setup process using the 3CX Webclient and Desktop App.
Step 1: Access the 3CX Admin Console
To begin the integration:
1.Login to the 3CX Webclient using an account with Admin Console access.

2.Click the Admin Cog located at the bottom left of the interface.
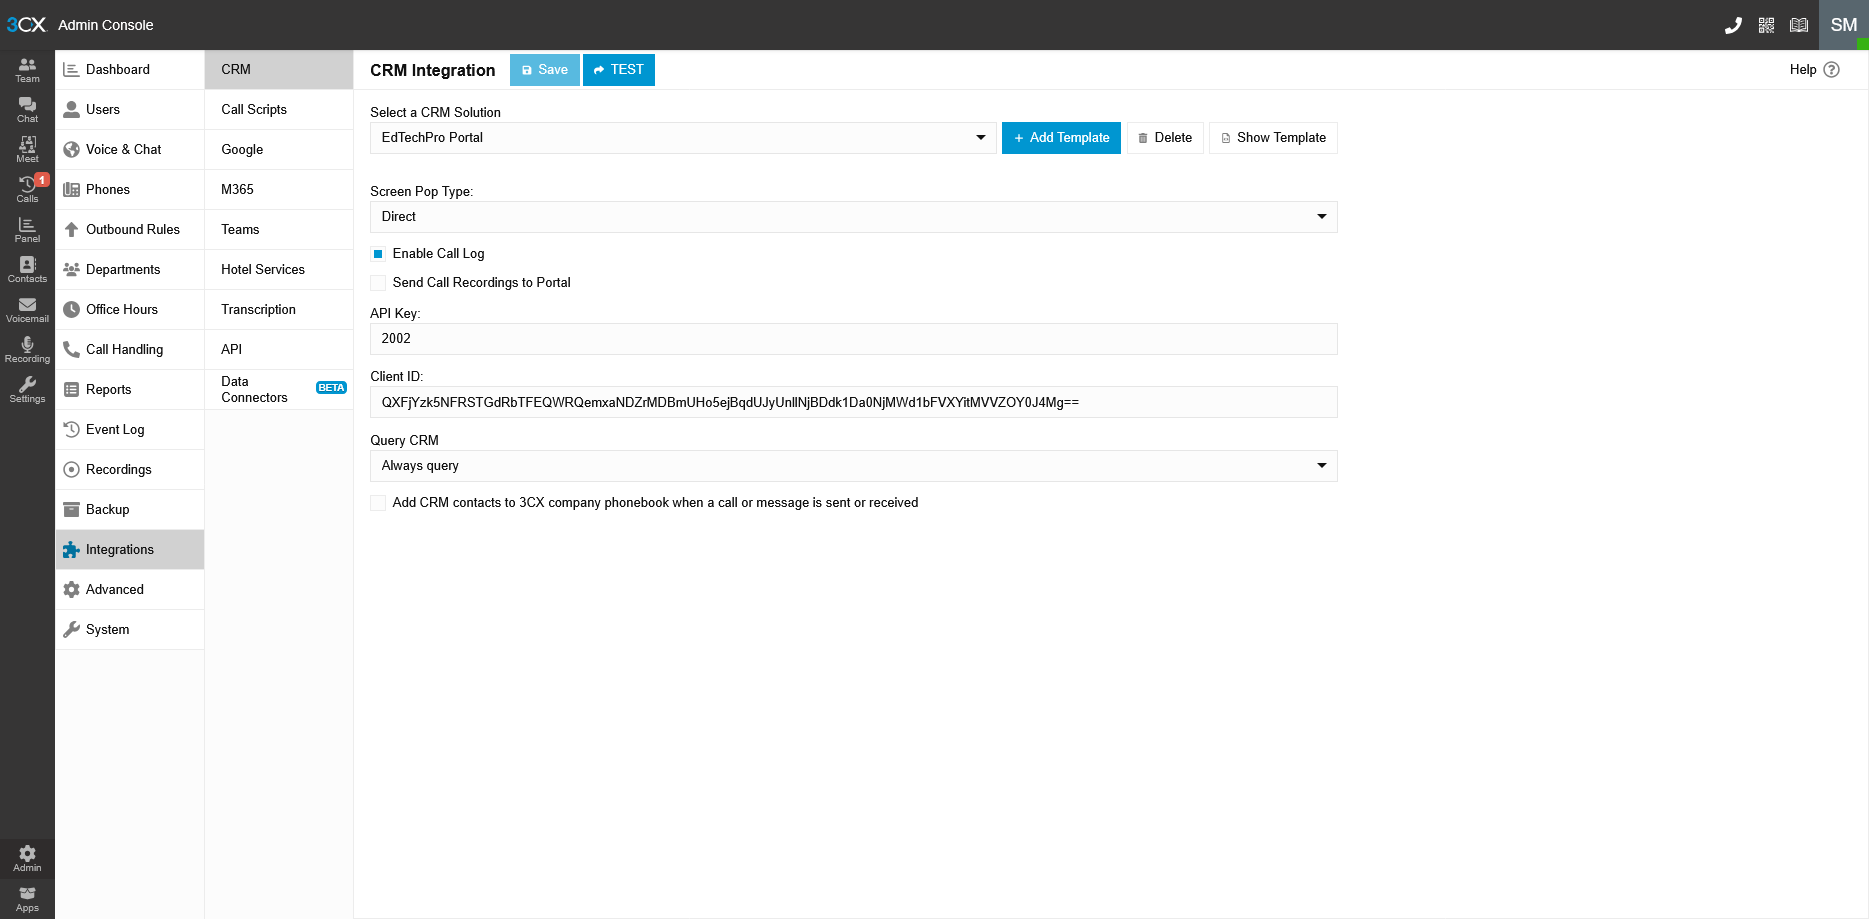
3.Navigate to the Integrations tab.
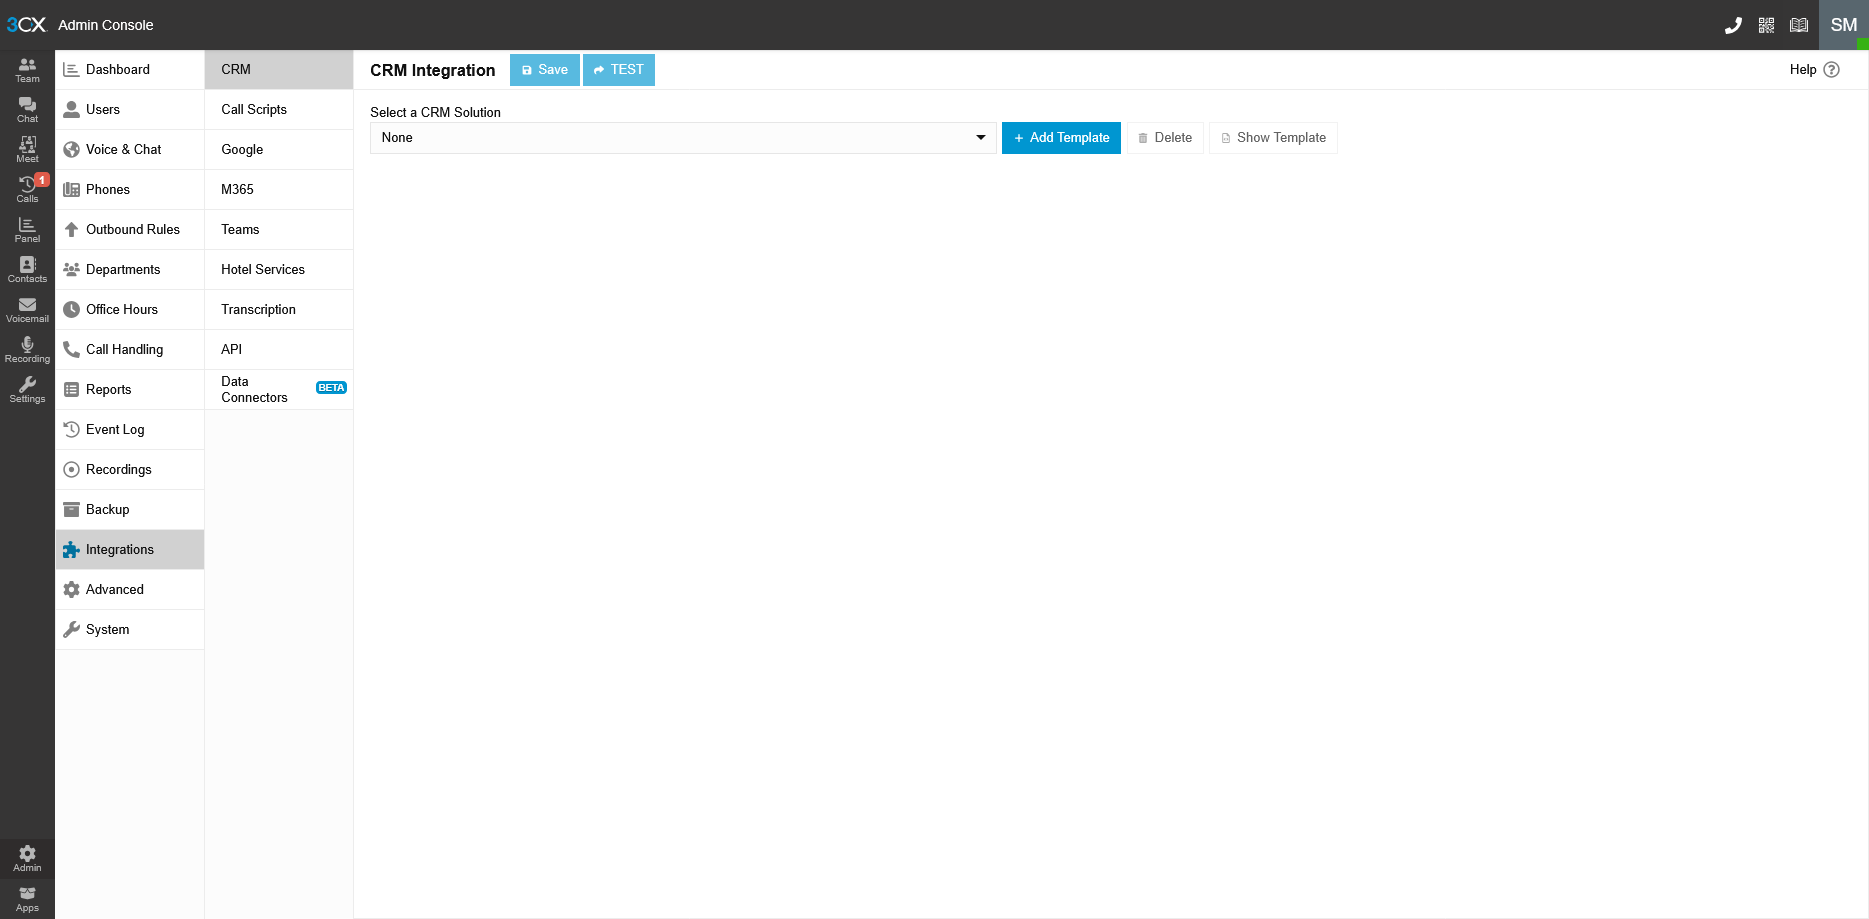
4.Click Add Template and enter the license data provided by EdtechPro.
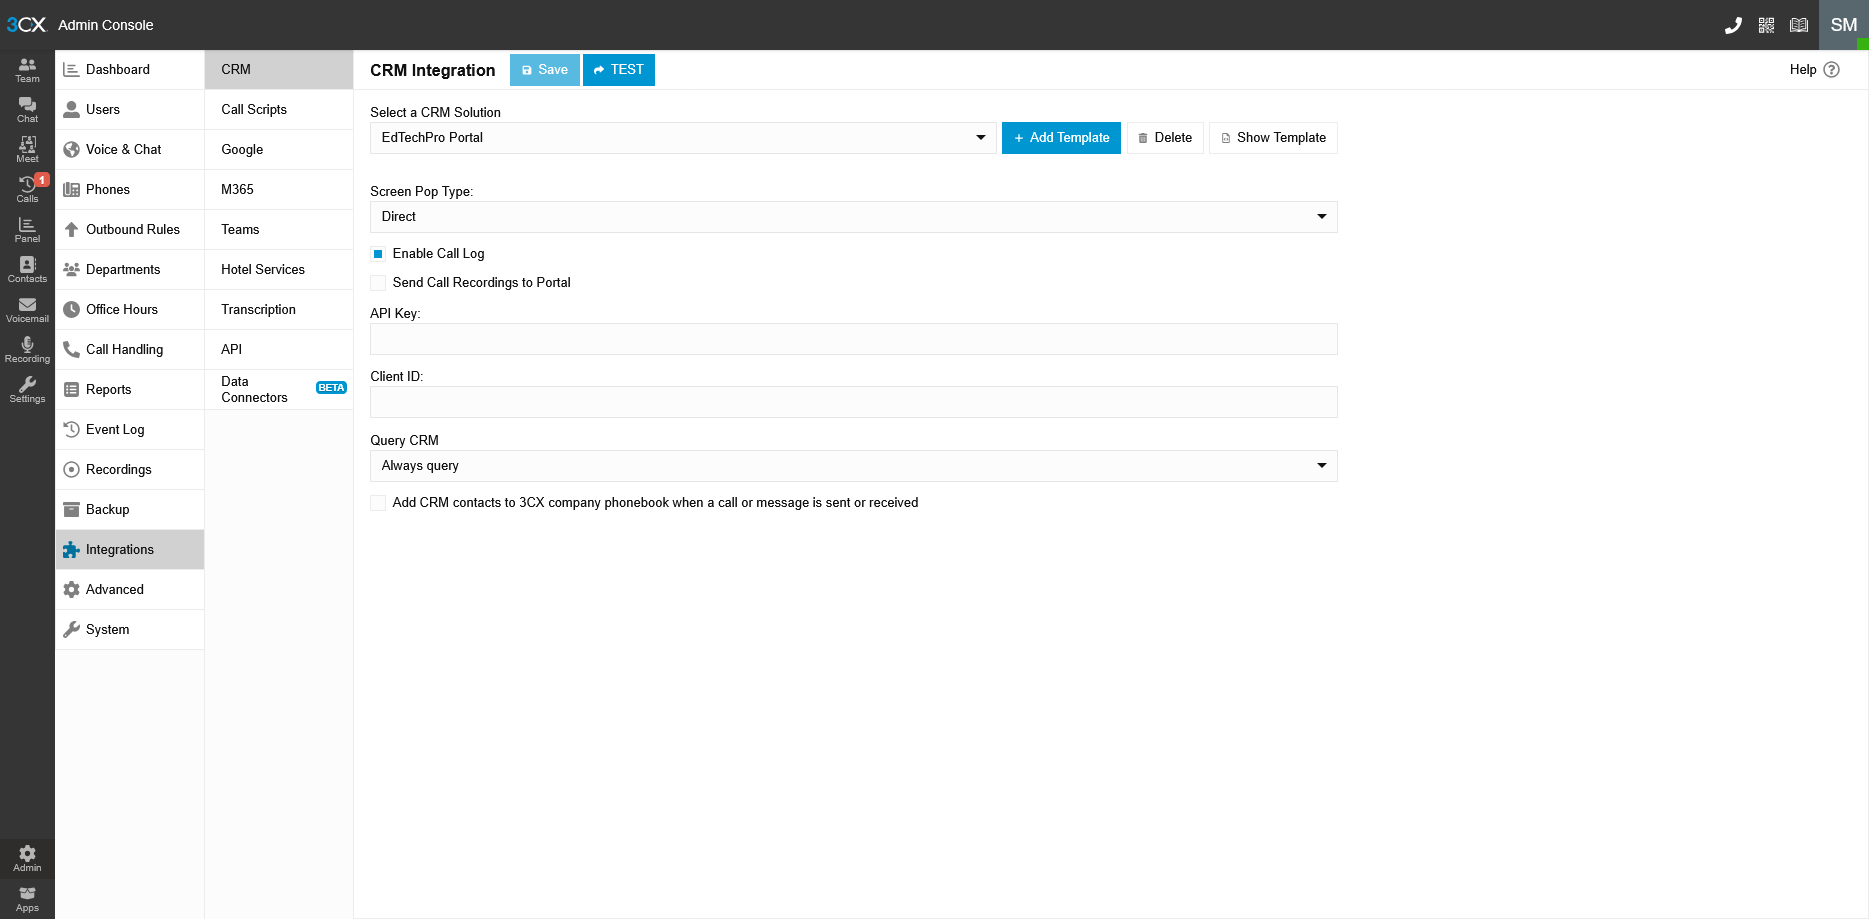
This step connects your MIS/CRM system to 3CX, enabling data synchronisation and contact management.
Step 2: Configure the 3CX Desktop App
For users accessing the Portal on their computers, follow these steps:
1.Download the 3CX Desktop App.
2.Provision each user to their appropriate 3CX account.
Once provisioned, configure the following settings in the Desktop Client:
•Settings → Desk phone Control
Select the handset the staff member uses (e.g., Fanvil).
•Settings → CRM
✅ Check the box to enable CRM integration.
•Settings → CRM → Open Contact URL using Server-Side CRM Integration
This ensures contact details open directly from your MIS/CRM system.
📧 Email: sales@yellowgrid.co.uk
📞 Call: 0333 014 4340
🌐 Visit: www.yellowgrid.co.uk
Want a feel for our products? There are more videos available on our Yellowgrid YouTube Channel.
Reseller application – Click HERE to apply
Looking for more information? No problem, contact us on 03330144340 or sales@yellowgrid.co.uk.